Straight Hairstyles With Layers
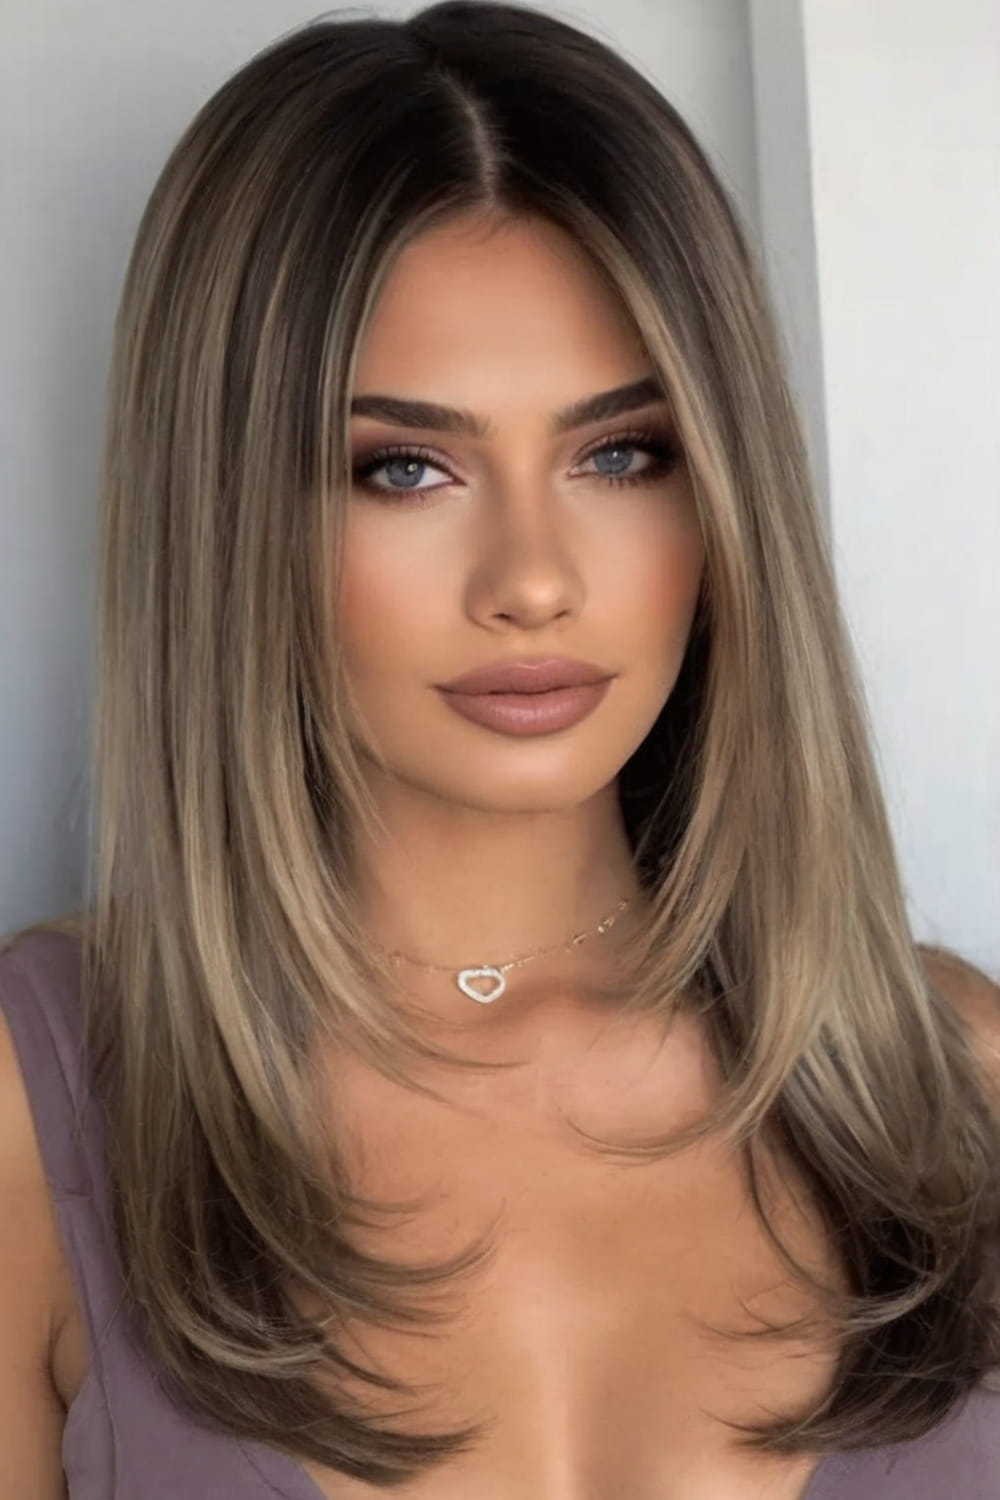
straight hairstyles with layers - offer one of the most versatile and flattering looks in modern hair design, blending sleek smoothness with movement and dimension. Whether your hair is long, medium, or cropped close to the chin, adding layers to straight strands transforms a flat, one-note finish into something full of shape and personality. Straight hair naturally reflects light beautifully, and layers amplify that shine by creating angled planes that catch the eye. The key to getting this look right is understanding how layers interact with your face shape, hair density, and styling routine. Below is a practical checklist that walks you through every decision, from choosing the right layer length to maintaining your cut between salon visits, so you can wear straight hairstyles with layers with total confidence.
Table of Contents
- Checklist Item: Match Layer Placement to Your Face Shape
- Checklist Item: Choose the Right Layering Technique for Straight Texture
- Checklist Item: Build Volume at the Crown Before Styling
- Checklist Item: Use a Flat Iron Correctly to Preserve Movement
- Checklist Item: Refresh Second-Day Layers Without a Full Wash
- Checklist Item: Schedule Trims to Keep Layers Sharp
Checklist Item: Match Layer Placement to Your Face Shape
Layer placement is the single most important decision in any layered straight cut, because layers frame the face and dictate where the eye travels. If you have a round face, ask for longer layers that begin below the chin to create vertical lines and elongate your features. For square or angular faces, soft face-framing layers that start at cheekbone level help round out sharp jawlines. Oval faces can carry almost any layer placement, while heart-shaped faces benefit from chin-length layers that add weight near the jaw. Before you sit in the chair, study a few reference photos and note exactly where the shortest layer falls. A stylist who understands face geometry will adapt the plan, but clear direction from you prevents surprises. This step also connects naturally to selecting a short hairstyle cut if you are considering going shorter, since layer placement changes dramatically when length drops above the shoulders.
Checklist Item: Choose the Right Layering Technique for Straight Texture
Straight hair shows every cut line, so the technique matters more than it does on wavy or curly textures. Blunt-cut layers create strong, visible edges and work well for thick hair that needs weight removed without losing its sleek finish. Point-cutting and slide-cutting soften the ends so layers blend invisibly, which is ideal for fine straight hair that can look choppy with hard lines. Ask your stylist which method suits your density: heavy hair tolerates bold, disconnected layers, while fine hair needs subtle graduation to avoid a stringy appearance. If you are exploring a haircut for short hair, discuss whether a graduated bob or a layered pixie will give you the movement you want without sacrificing smoothness. Getting the technique right at the consultation stage saves months of awkward grow-out.
Checklist Item: Build Volume at the Crown Before Styling
Straight hair with layers falls flat quickly without root lift, and flat roots make even a great cut look lifeless. Start every styling session by applying a lightweight volumizing mousse or root spray to damp hair, concentrating product at the crown and along the part line. Rough-dry upside down for two to three minutes to activate the product, then flip upright and direct airflow down the hair shaft with a round brush. This single habit lifts the shortest layers away from the scalp, which is what gives layered straight styles their characteristic bounce. Skipping this step is the most common reason people feel their layers "disappear" a day after the salon.
Checklist Item: Use a Flat Iron Correctly to Preserve Movement
Layers and flat irons can be allies or enemies depending on technique. Clamp the iron and glide in one smooth pass rather than clamping repeatedly over the same section, which flattens the bend that gives layers their shape. At the ends of each layer, curve the iron slightly inward or outward for a subtle flick instead of pressing straight down to the tip. Keep the temperature moderate, around 350°F for fine hair and 400°F for thick or coarse strands, and always use a heat protectant. The goal is polished smoothness with visible separation between layers, not a sealed, board-flat finish.
Checklist Item: Refresh Second-Day Layers Without a Full Wash
Layered straight hair loses definition overnight as oils weigh down the ends. Revive it in under five minutes by misting the mid-lengths and ends with dry shampoo, then blasting the roots with cool air while lifting sections with your fingers. A quick pass with a large-barrel round brush on the top layers restores the curve that frames your face. This refresh routine protects your color and texture while keeping the cut looking freshly styled, and it dramatically extends the life of your blowout between washes.
Checklist Item: Schedule Trims to Keep Layers Sharp
Straight hair grows out of a layered cut faster than any other texture because there is no curl pattern to disguise uneven ends. Book a trim every six to eight weeks to keep the shortest layers from collapsing into the longer ones and blurring the shape. During each visit, ask your stylist to check whether the layers still sit at the right facial landmarks; a quarter inch of growth can shift a cheekbone layer down to the jaw. Consistent maintenance is what separates a cut that looks intentional for months from one that looks overgrown in three weeks.


